
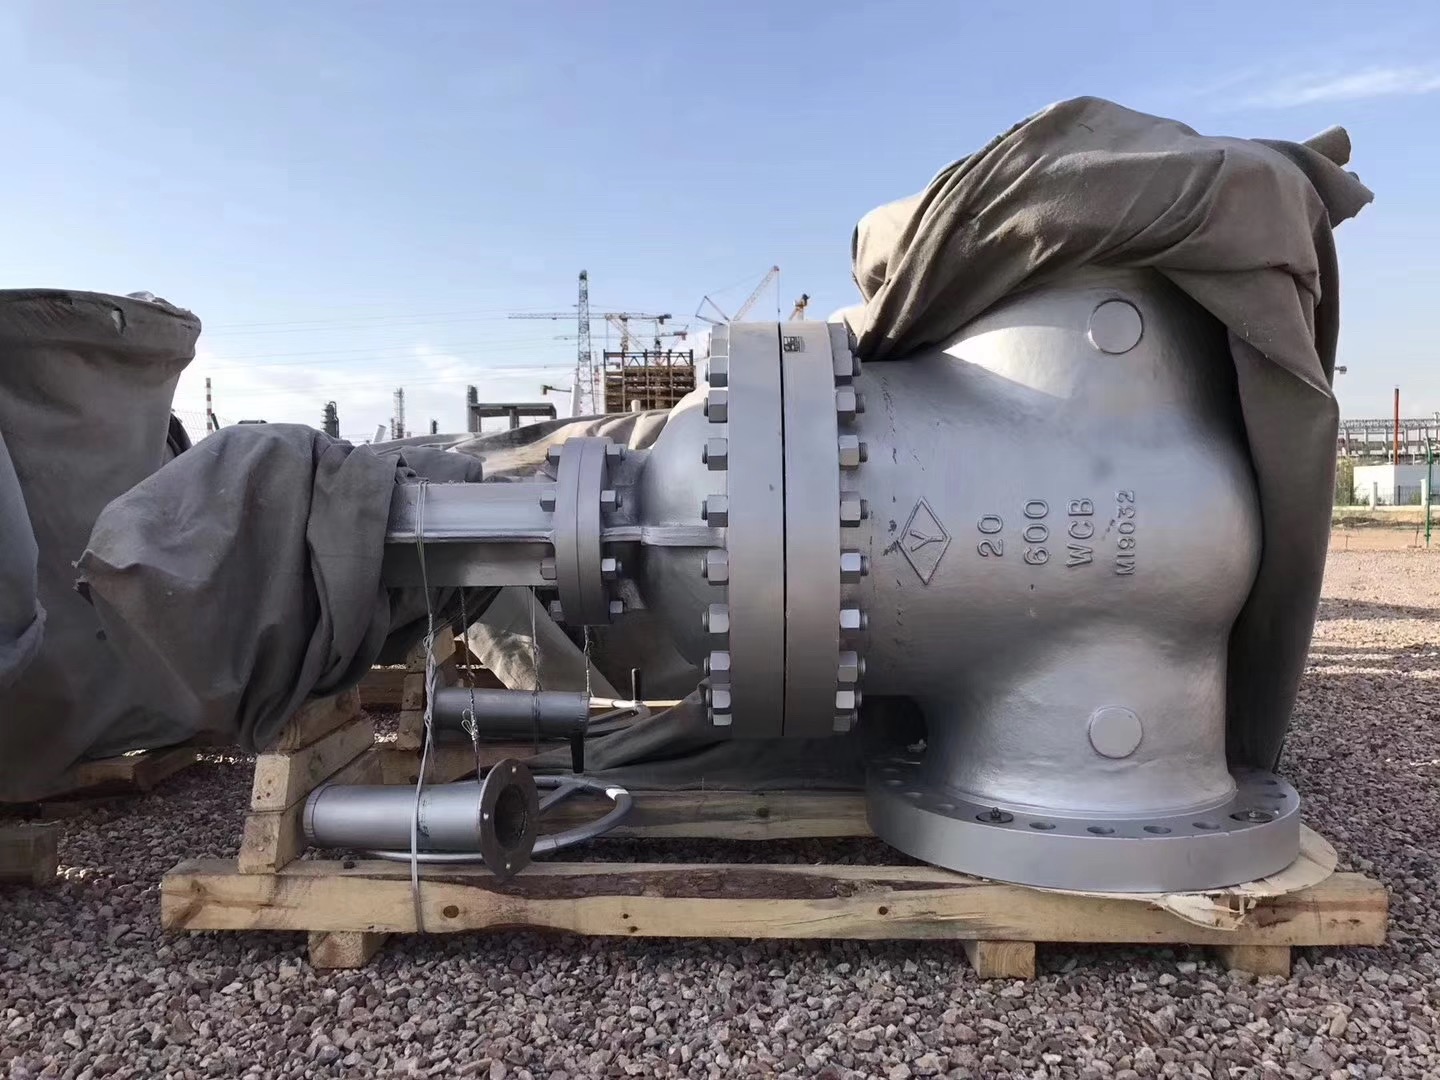
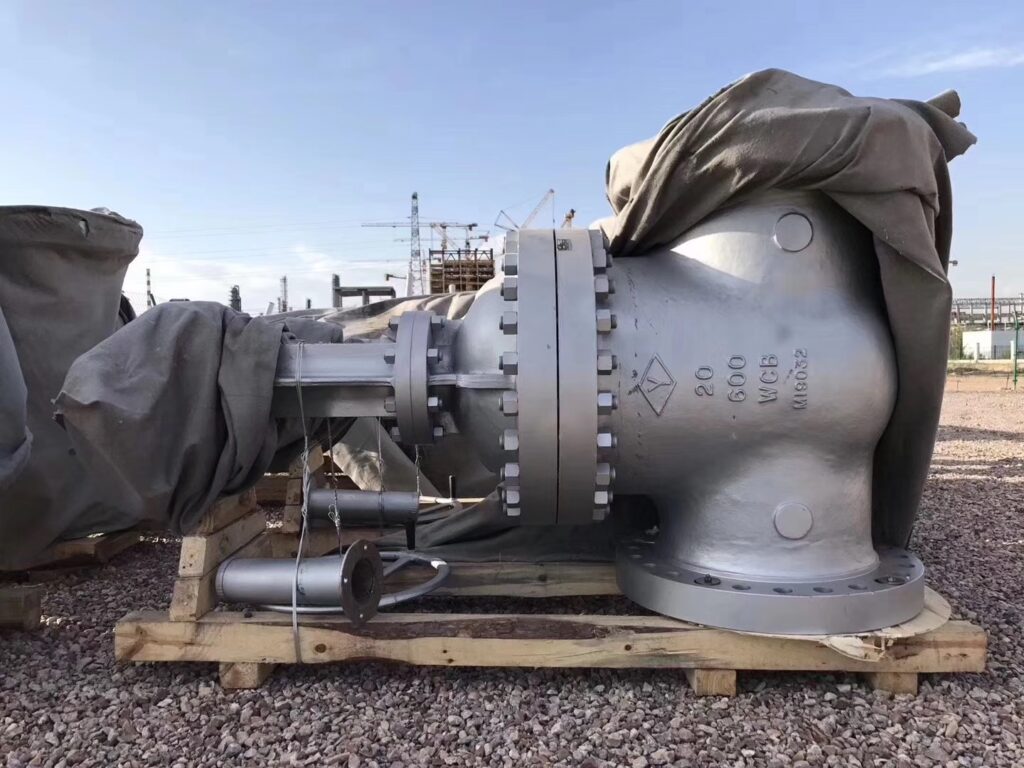
Trying to identify a valve before ordering a replacement? Start with the nameplate or body markings, then compare the body, operator and stem arrangement. A round handwheel or a tall bonnet can be a clue, but neither proves that the valve is a Absperrschieber.
This guide follows five external and construction checks. You can usually gather the useful identification details from the installed valve without dismantling it.
Die Identifizierung eines Absperrschiebers ist besonders wichtig, da Sie ihn so von anderen Ventiltypen unterscheiden können. Unterschiedliche Ventile erfüllen unterschiedliche Funktionen, und die Verwendung des falschen Typs könnte zu Ineffizienzen oder sogar Schäden in Ihrem System führen.
Look at the valve as a whole: its markings, Verbindungen, operator and stem arrangement. If maintenance records or a product reference are available, compare those with what is fitted in the line.
The steps below explain which clues are useful, which are shared with other valve types, and what to send us if the identification is still unclear.
Schritt 1: Überprüfen Sie den Ventilkörper
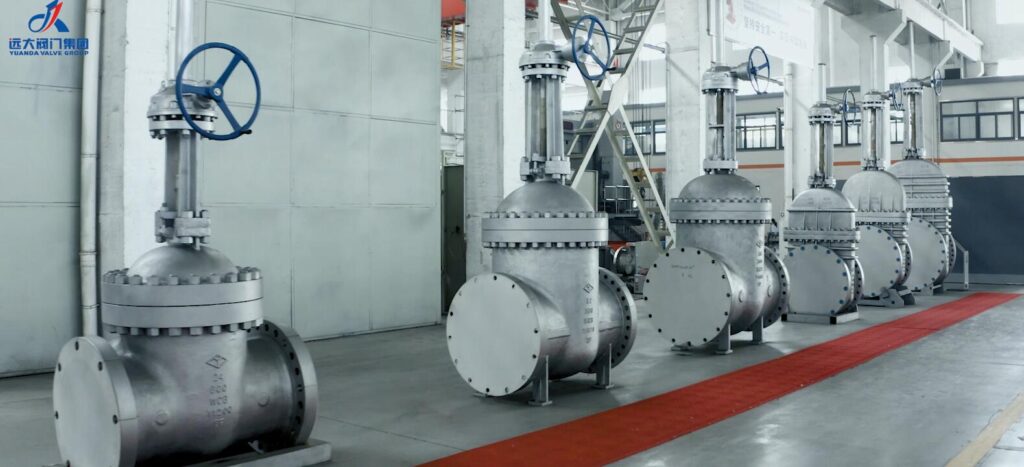
Absperrschieber werden häufig in Sanitär- und Industrieanwendungen zur Steuerung des Flüssigkeitsflusses eingesetzt. Um einen Absperrschieber richtig zu bedienen und zu warten, Es ist wichtig, es identifizieren zu können. Der erste Schritt bei der Identifizierung eines Absperrschiebers besteht in der Überprüfung des Ventilkörpers.
Gate valve bodies vary with size, material and construction. They are not reliably identified by a rectangular or square outline. Look instead for the manufacturer’s name, Modell, nominal size and pressure marking cast into the body or shown on the nameplate.
The body contains a passage between the pipe connections and space for the gate to move out of that passage. From the outside, Jedoch, much of this construction is hidden. Paint colour and body shape should be treated as supporting clues rather than a final identification.
Zusätzlich zu seiner Form, Möglicherweise bemerken Sie auch andere Merkmale am Ventilkörper, die bei der Identifizierung hilfreich sein können. Dazu können Markierungen oder Etiketten gehören, die den Hersteller oder die Spezifikationen des Ventils angeben. Das Notieren dieser Details kann für zukünftige Referenzzwecke oder bei der Bestellung von Ersatzteilen hilfreich sein.
Record the markings before comparing product photographs. Two valves can look similar while having different pressure ratings, materials or connections. A clear photograph of each marked area is more useful for a replacement enquiry than a description such as “the square valve”.
Denken Sie daran, dass die Identifizierung eines Absperrschiebers mehr als nur sein Aussehen betrifft; Es erfordert außerdem Kenntnisse über die wichtigsten Funktionen und das Verständnis, wie diese zum Betrieb beitragen. In den nächsten Schritten, Wir werden weitere Aspekte untersuchen, die Ihnen dabei helfen, besser zu bestätigen, ob es sich bei einem Ventil tatsächlich um einen Absperrschieber handelt.
Schritt 2: Suchen Sie nach dem Griff
Many manual gate valves use a handwheel, but globe valves and other multi-turn valves do too. A handwheel tells you about the operating method; on its own, it does not identify the closing mechanism or show the valve position.
Check how the handwheel connects to the stem or gearbox. On an installed valve, a gearbox, chainwheel or actuator may cover details that are easy to see on a bare manual valve.
Gate valves can have handwheels, operating caps, gear operators or actuators. An underground valve operated through an extension spindle may have no visible handwheel at the body.
A freely turning handwheel is not an identification test. Resistance depends on the valve position, pressure and mechanical condition. Do not force or cycle an unidentified valve simply to find out what type it is.
Use the operator as one clue and keep its markings in your photographs. If an actuator is fitted, record the valve nameplate separately: the actuator model identifies the drive, not necessarily the valve beneath it.
Schritt 3: Examine the Stem Arrangement

Gate valves are available with rising and non-rising stems. With a rising-stem arrangement, the stem travels upwards as the gate opens. With an NRS arrangement, the stem rotates without rising while the gate moves inside the body.
Check the visible stem arrangement and any position indicator. A stem that stays at the same external height does not rule out a gate valve. Unser Betriebssystem&Y and NRS gate valve comparison shows why both arrangements are used.
A rising stem gives an indication of gate travel; an NRS valve may have a separate position indicator. These indications describe the operating position, rather than proving that a closed valve is leak-tight.
Stem length alone cannot tell you whether a valve needs replacement. For identification, the model, operator arrangement and visible markings are more useful. Keep condition assessment separate from identifying the valve type.
Also remember that other valve types can have rising stems. Confirm the stem clue against the body markings and the product information before deciding what to order.
Schritt 4: Confirm the Gate Construction
The gate is the closing element that distinguishes a gate valve. In most installed gate valves it is enclosed by the body and bonnet, so it is not available for direct visual inspection. Use the identified model or existing product information to confirm the construction.
A wedge gate moves across the flow path and retracts from it when opened. In a parallel gate design, “parallel” describes the seating arrangement, not a gate lying along the flow. Ordinary gate valves are intended for isolation, normally fully open or fully closed, rather than precise flow regulation.
Auch das Material, aus dem das Tor gebaut wird, muss berücksichtigt werden. Absperrschieber können aus verschiedenen Materialien wie Messing bestehen, Edelstahl, oder Gusseisen, abhängig von der beabsichtigten Anwendung und den Betriebsbedingungen. Es ist wichtig sicherzustellen, dass das Material des Schiebers mit den durch das Ventil transportierten Flüssigkeiten kompatibel ist, um Korrosion oder Schäden zu vermeiden.
Zusätzlich, Achten Sie auf sichtbare Abnutzung oder Schäden an der Toroberfläche. Im Laufe der Zeit, Bei Toren kann es zu Erosion oder Lochfraß kommen, wenn sie über einen längeren Zeitraum abrasiven Flüssigkeiten oder Strömungen mit hoher Geschwindigkeit ausgesetzt sind. Diese Verschleißerscheinungen können die Leistung und Dichtigkeit des Ventils beeinträchtigen.
If the valve is already dismantled during planned maintenance, photographs of the gate and seat can help identify the design. For an installed valve, do not remove the bonnet just to inspect the gate; identification should begin with the external information.
Schritt 5: Identifizieren Sie die Motorhaube
The bonnet is the cover joined to the valve body above the gate. It forms part of the pressure boundary and houses or supports the stem sealing arrangement.
Bonnet materials vary with the valve design and service, including iron, steel and other alloys. Neither a particular material nor a dome-shaped outline is exclusive to gate valves.
The bonnet may be bolted, threaded or attached by another design-specific joint. The joint seals the bonnet to the body, while packing or another stem-seal arrangement seals around the moving stem. These are distinct sealing locations.
Photograph the body-to-bonnet joint and any visible model markings. A globe valve can also have a bonnet above the body, so this feature needs to be read together with the other clues.
Indem wir den Zweck der Motorhaube erkennen und verstehen, Sie können die ordnungsgemäße Wartung und den ordnungsgemäßen Betrieb von Absperrschiebern in Sanitär- und Industrieumgebungen sicherstellen. Regelmäßige Inspektion und Wartung dieser wichtigen Komponente tragen dazu bei, ihre Lebensdauer zu verlängern und potenziellen Problemen aufgrund von Leckagen oder Schäden vorzubeugen.
Confirm the Identification Before Ordering
A reliable identification brings several clues together. Keep the nameplate and body markings as the starting point, then compare the connections, operator, stem and bonnet with the corresponding product information.
The external body shape helps describe what is installed, but it does not establish the valve type. Record the nominal size and pressure markings as well as the manufacturer and model where these are legible.
A handwheel is common to several valve types. Include the gearbox or actuator reference where fitted, while keeping the valve’s own identification separate.
A gate valve may have a rising or non-rising stem. Note the arrangement and any position indicator, especially where headroom or remote operation will affect the replacement.
The internal gate determines the closing design. Confirm it from the model or maintenance records when possible, rather than opening an installed valve to look inside.
The bonnet and connection details help narrow the match. Für einen Ersatz, compare the end connections and installed length as well as the nominal pipe size.
Still unsure what is fitted? Send Farpro a valve identification enquiry with an overall photo and close-ups of the nameplate, body markings and connections. Tell us the fluid, required quantity and destination. We can discuss the likely product options and the details still needed before quoting a replacement.
Once the arrangement is clear, explore Farpro’s Betriebssystem&Y-Absperrschieber, NRS-Absperrschieber oder flanged gate valve range. The product pages show existing models to compare with your requirement.