
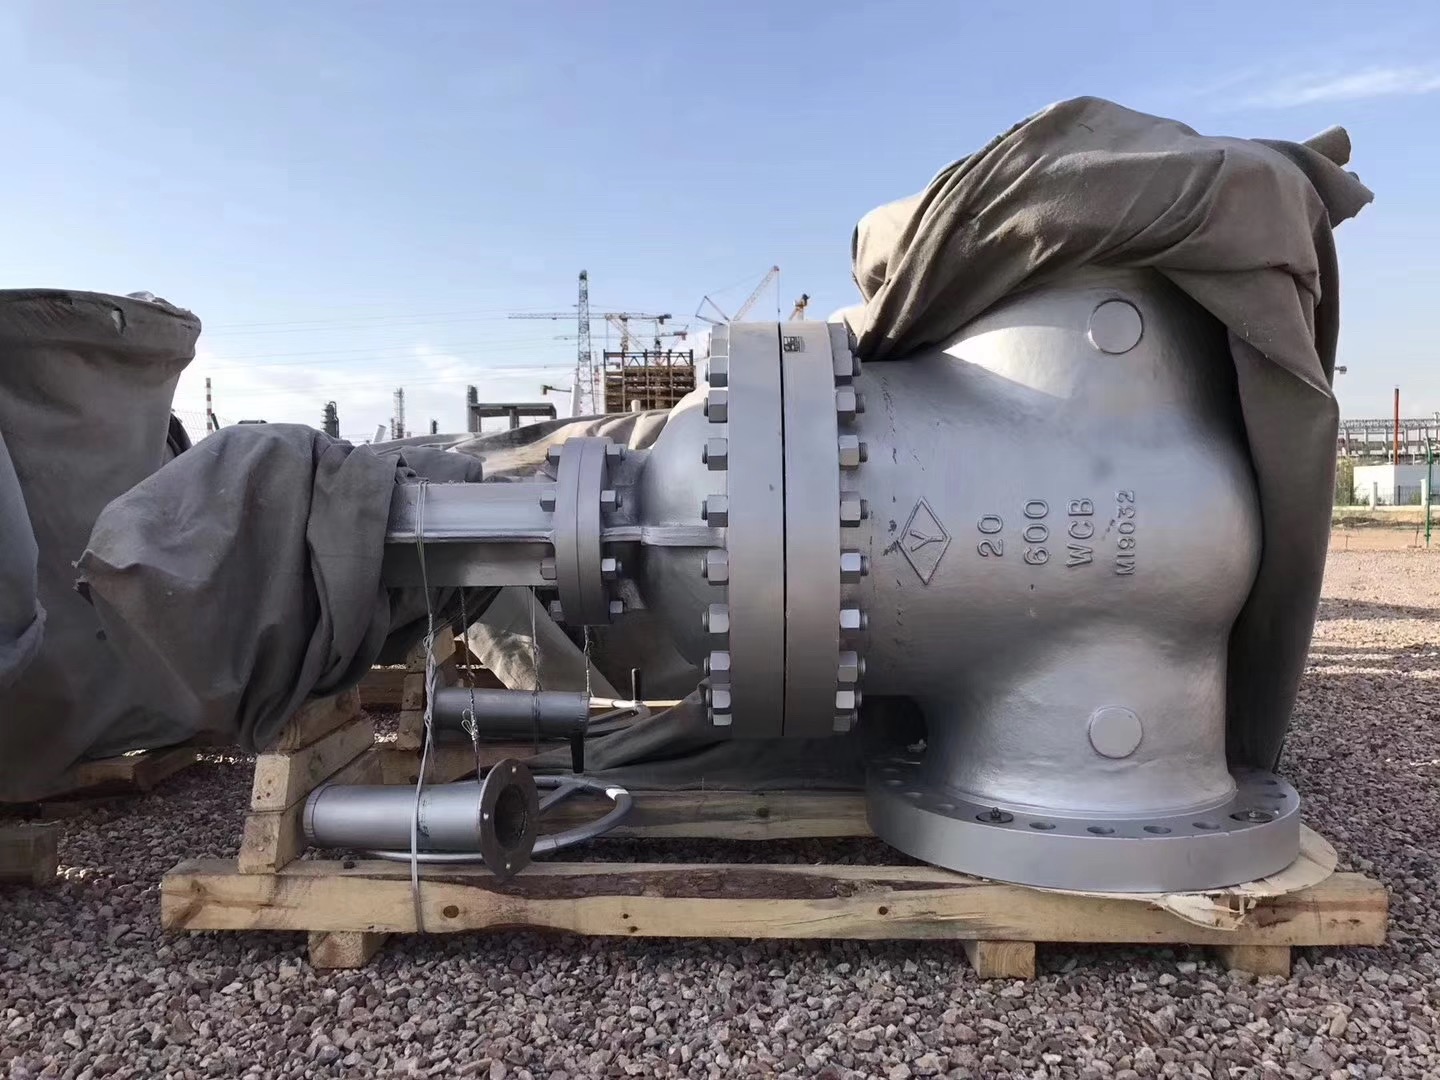
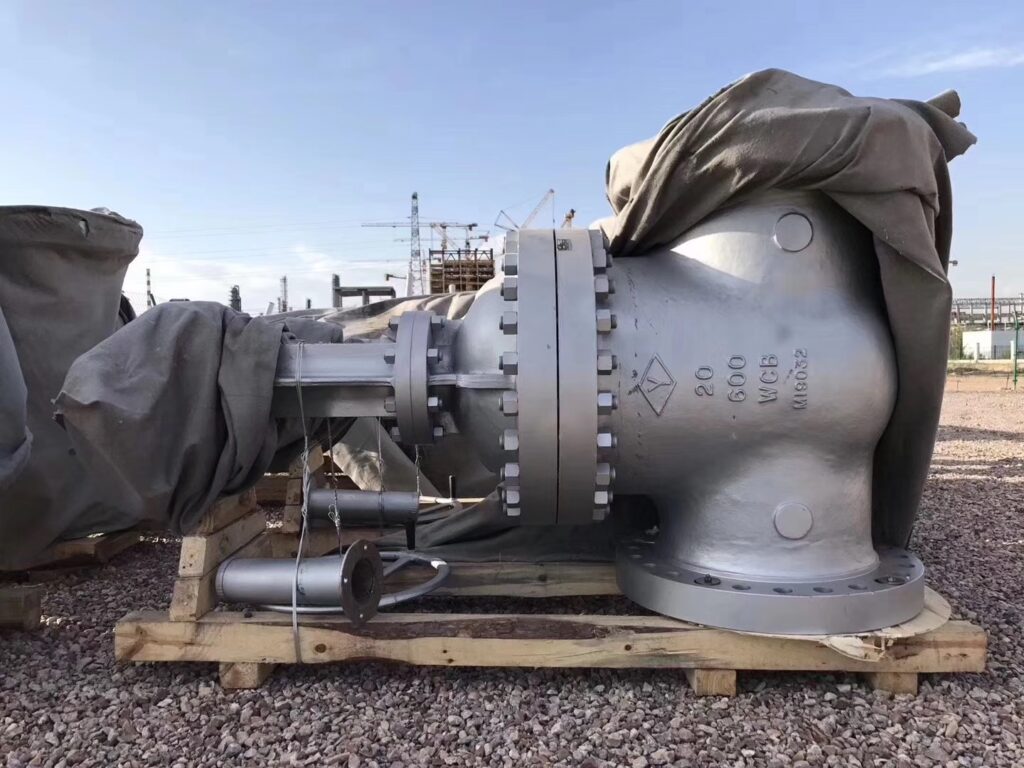
Trying to identify a valve before ordering a replacement? Start with the nameplate or body markings, then compare the body, operator and stem arrangement. A round handwheel or a tall bonnet can be a clue, but neither proves that the valve is a gate valve.
This guide follows five external and construction checks. You can usually gather the useful identification details from the installed valve without dismantling it.
Identifying a gate valve is particularly important because it allows you to distinguish it from other types of valves. Different valves serve different functions, and using the wrong type could lead to inefficiencies or even damage within your system.
Look at the valve as a whole: its markings, connections, operator and stem arrangement. If maintenance records or a product reference are available, compare those with what is fitted in the line.
The steps below explain which clues are useful, which are shared with other valve types, and what to send us if the identification is still unclear.
Step 1: Check the Valve Body
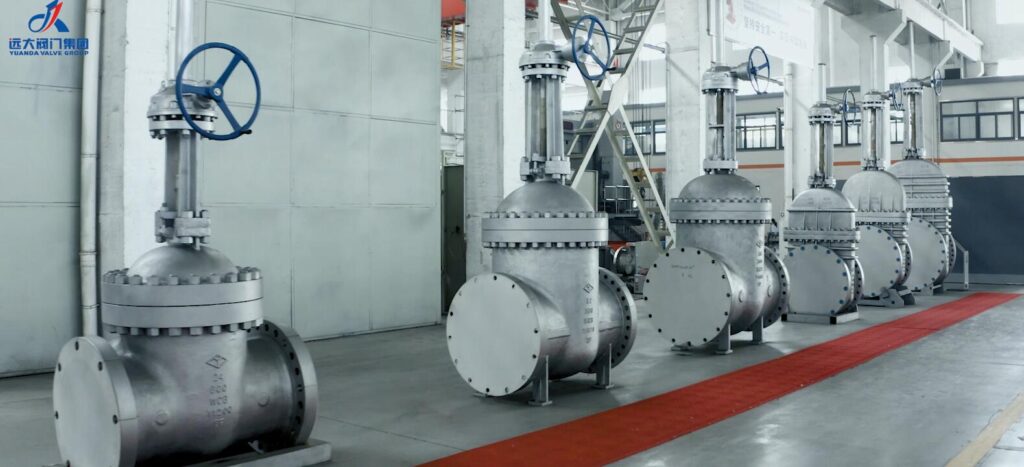
Gate valves are commonly used in plumbing and industrial applications to control the flow of fluids. To properly operate and maintain a gate valve, it is important to be able to identify it. The first step in identifying a gate valve is to check the valve body.
Gate valve bodies vary with size, material and construction. They are not reliably identified by a rectangular or square outline. Look instead for the manufacturer’s name, model, nominal size and pressure marking cast into the body or shown on the nameplate.
The body contains a passage between the pipe connections and space for the gate to move out of that passage. From the outside, however, much of this construction is hidden. Paint colour and body shape should be treated as supporting clues rather than a final identification.
In addition to its shape, you may also notice other features on the valve body that can help in identification. These may include markings or labels indicating the manufacturer or specifications of the valve. Taking note of these details can be helpful for future reference or when ordering replacement parts.
Record the markings before comparing product photographs. Two valves can look similar while having different pressure ratings, materials or connections. A clear photograph of each marked area is more useful for a replacement enquiry than a description such as “the square valve”.
Remember that identifying a gate valve involves more than just its appearance; it also requires knowledge of key features and understanding how they contribute to its operation. In the next steps, we will explore additional aspects that will help you further confirm if a valve is indeed a gate valve.
Step 2: Look for the Handle
Many manual gate valves use a handwheel, but globe valves and other multi-turn valves do too. A handwheel tells you about the operating method; on its own, it does not identify the closing mechanism or show the valve position.
Check how the handwheel connects to the stem or gearbox. On an installed valve, a gearbox, chainwheel or actuator may cover details that are easy to see on a bare manual valve.
Gate valves can have handwheels, operating caps, gear operators or actuators. An underground valve operated through an extension spindle may have no visible handwheel at the body.
A freely turning handwheel is not an identification test. Resistance depends on the valve position, pressure and mechanical condition. Do not force or cycle an unidentified valve simply to find out what type it is.
Use the operator as one clue and keep its markings in your photographs. If an actuator is fitted, record the valve nameplate separately: the actuator model identifies the drive, not necessarily the valve beneath it.
Step 3: Examine the Stem Arrangement

Gate valves are available with rising and non-rising stems. With a rising-stem arrangement, the stem travels upwards as the gate opens. With an NRS arrangement, the stem rotates without rising while the gate moves inside the body.
Check the visible stem arrangement and any position indicator. A stem that stays at the same external height does not rule out a gate valve. Our OS&Y and NRS gate valve comparison shows why both arrangements are used.
A rising stem gives an indication of gate travel; an NRS valve may have a separate position indicator. These indications describe the operating position, rather than proving that a closed valve is leak-tight.
Stem length alone cannot tell you whether a valve needs replacement. For identification, the model, operator arrangement and visible markings are more useful. Keep condition assessment separate from identifying the valve type.
Also remember that other valve types can have rising stems. Confirm the stem clue against the body markings and the product information before deciding what to order.
Step 4: Confirm the Gate Construction
The gate is the closing element that distinguishes a gate valve. In most installed gate valves it is enclosed by the body and bonnet, so it is not available for direct visual inspection. Use the identified model or existing product information to confirm the construction.
A wedge gate moves across the flow path and retracts from it when opened. In a parallel gate design, “parallel” describes the seating arrangement, not a gate lying along the flow. Ordinary gate valves are intended for isolation, normally fully open or fully closed, rather than precise flow regulation.
The material used for constructing the gate is also important to consider. Gate valves can have gates made from various materials such as brass, stainless steel, or cast iron, depending on their intended application and operating conditions. It is crucial to ensure that the material of the gate is compatible with the fluids being transported through the valve to prevent corrosion or damage.
Additionally, take note of any visible wear or damage on the gate surface. Over time, gates may experience erosion or pitting due to prolonged exposure to abrasive fluids or high-velocity flows. These signs of wear can affect the performance and sealing capabilities of the valve.
If the valve is already dismantled during planned maintenance, photographs of the gate and seat can help identify the design. For an installed valve, do not remove the bonnet just to inspect the gate; identification should begin with the external information.
Step 5: Identify the Bonnet
The bonnet is the cover joined to the valve body above the gate. It forms part of the pressure boundary and houses or supports the stem sealing arrangement.
Bonnet materials vary with the valve design and service, including iron, steel and other alloys. Neither a particular material nor a dome-shaped outline is exclusive to gate valves.
The bonnet may be bolted, threaded or attached by another design-specific joint. The joint seals the bonnet to the body, while packing or another stem-seal arrangement seals around the moving stem. These are distinct sealing locations.
Photograph the body-to-bonnet joint and any visible model markings. A globe valve can also have a bonnet above the body, so this feature needs to be read together with the other clues.
By identifying and understanding the purpose of the bonnet, you can ensure proper maintenance and operation of gate valves in plumbing and industrial settings. Regular inspection and maintenance of this crucial component will help prolong its lifespan and prevent any potential issues that may arise due to leakage or damage.
Confirm the Identification Before Ordering
A reliable identification brings several clues together. Keep the nameplate and body markings as the starting point, then compare the connections, operator, stem and bonnet with the corresponding product information.
The external body shape helps describe what is installed, but it does not establish the valve type. Record the nominal size and pressure markings as well as the manufacturer and model where these are legible.
A handwheel is common to several valve types. Include the gearbox or actuator reference where fitted, while keeping the valve’s own identification separate.
A gate valve may have a rising or non-rising stem. Note the arrangement and any position indicator, especially where headroom or remote operation will affect the replacement.
The internal gate determines the closing design. Confirm it from the model or maintenance records when possible, rather than opening an installed valve to look inside.
The bonnet and connection details help narrow the match. For a replacement, compare the end connections and installed length as well as the nominal pipe size.
Still unsure what is fitted? Send Farpro a valve identification enquiry with an overall photo and close-ups of the nameplate, body markings and connections. Tell us the fluid, required quantity and destination. We can discuss the likely product options and the details still needed before quoting a replacement.
Once the arrangement is clear, explore Farpro’s OS&Y gate valves, NRS gate valves or flanged gate valve range. The product pages show existing models to compare with your requirement.